San Diego homeowners and renters know that even a small under-sink leak can turn into a big headache, especially with our unique mix of coastal fog, marine layer, and inland heat. Whether you live in an older Craftsman near the beach or a modern condo inland, hidden moisture under the sink is a top culprit for mold and water damage. While most people check the P-trap first, leaks often come from less obvious sources—and missing them can mean lingering dampness, warped cabinets, and mold. Here’s a thorough guide to finding and fixing every possible under-sink leak, with a focus on moisture control and prevention.
1. Beyond the P-Trap: Full Under-Sink Leak Inspection
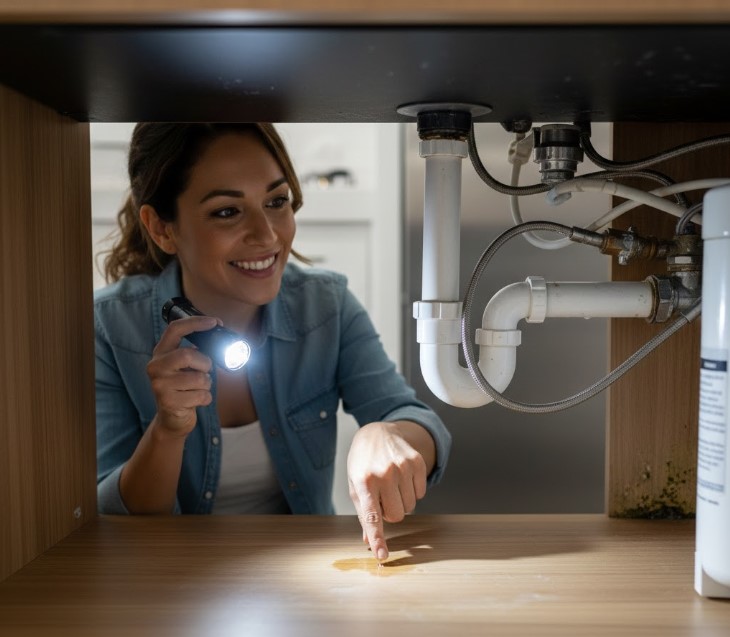
If you’ve ever crouched under your kitchen sink with a towel, you know the P-trap gets all the attention. But in San Diego, with our active plumbing and varying humidity, leaks can start almost anywhere under the sink—not just the P-trap.
Start by identifying every component. Along with the P-trap, you’ll find hot and cold supply lines, shutoff valves, the faucet base, a spray hose, the drain basket, a garbage disposal, and perhaps a dishwasher connection. Each of these is a potential source of under-sink leaks.
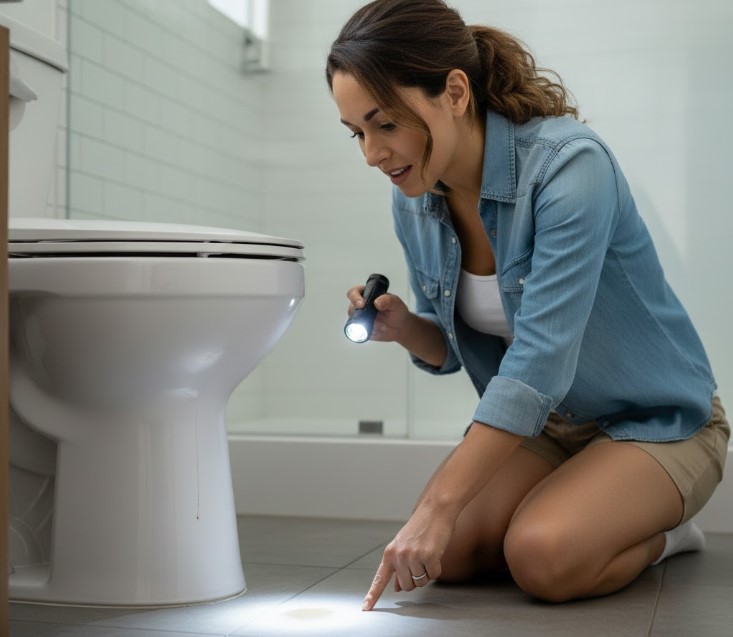
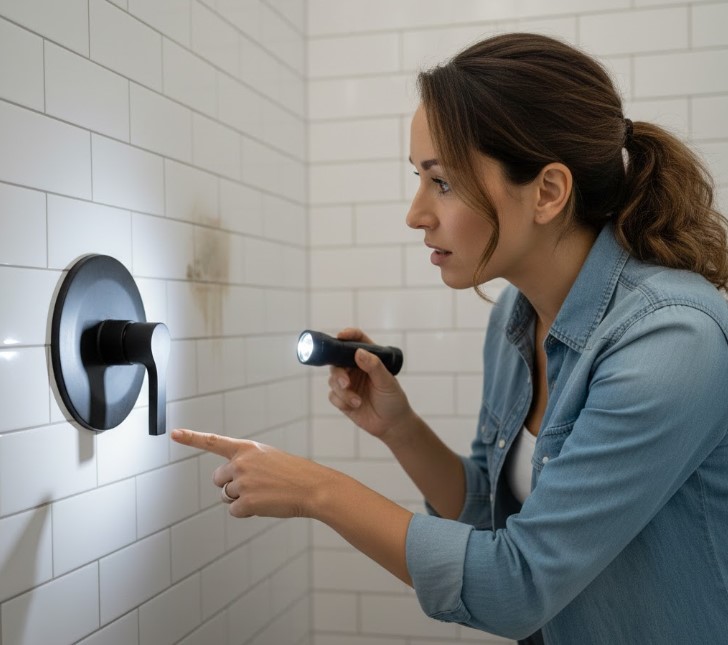
Visually inspect each connection for corrosion, mineral deposits, or rust—these are classic early warnings. Next, take a flashlight and move a small mirror around the back and underside of pipes and fittings, as leaks often hide where you can’t see directly. Run your fingers or a paper towel around every joint and fitting; if you pick up moisture or a musty odor, you’ve likely found a problem that needs attention.
Don’t forget the cabinet itself. Swollen, warped, or discolored wood and soft spots in laminate are signs that moisture has been present for a while. Use a moisture meter if you have one—it’s a $20–$40 investment that can save you from expensive repairs later.
Today, take five minutes to wipe around each pipe and fitting with a paper towel. If it comes away damp or discolored, you’ve found a leak source that needs immediate attention.
2. Diagnosing Moisture: Is It a Leak, Condensation, or a Spill?
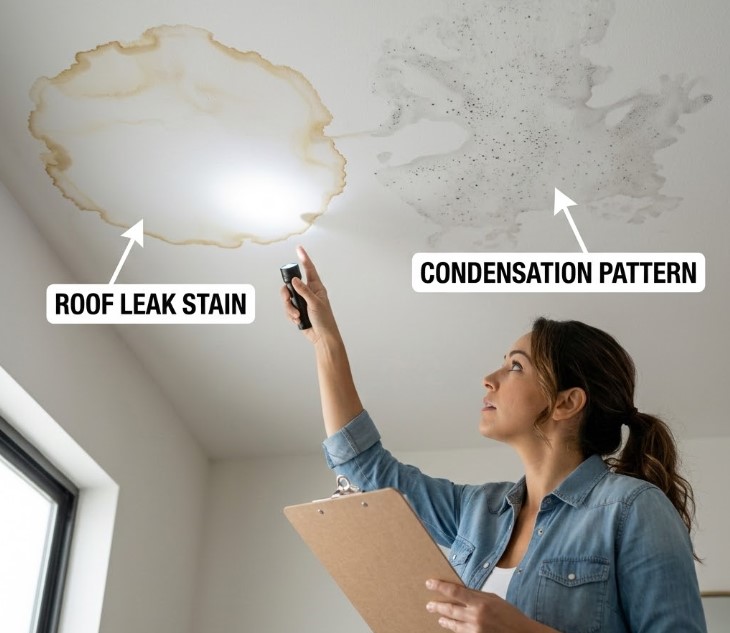
Not all under-sink moisture is caused by plumbing failures. Distinguishing between a slow plumbing leak, condensation, and a one-off spill is crucial for proper fixes and mold prevention—especially in San Diego’s diverse microclimates.
A true plumbing leak often leaves behind mineral stains, corrosion, or an ongoing drip, even when the sink isn’t in use. On the other hand, condensation under the sink is common in coastal neighborhoods during marine layer season (think June Gloom), when moist air meets cold pipes after running water. This can create beads of water or a damp cabinet, particularly if relative humidity under the sink is above 60 percent.
A handy tool for this is a hygrometer. Place one under your sink (they’re about $10–$20 online or at hardware stores) and check if humidity spikes after running cold water, or stays high even when the sink isn’t used. If you’re consistently seeing readings above 60 percent, you’re at risk for mold growth—ideally, keep indoor humidity between 30–50 percent.
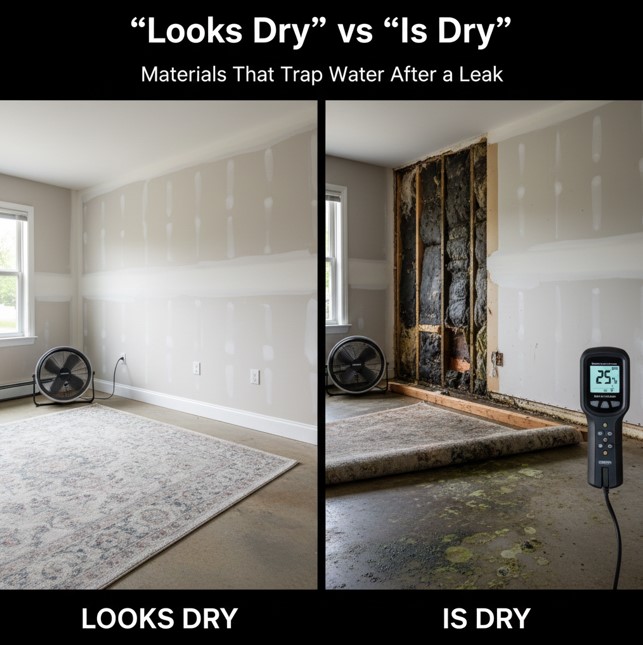
If you find pooled water but can’t pinpoint the source, dry everything thoroughly and observe. Run the water again and check for drips. If none appear and the dampness only returns after cold water use, condensation is likely the culprit. For persistent dampness, especially with no visible drips, consider using a moisture meter to identify hidden wet spots behind or beneath the cabinet.
Three signs it’s condensation, not a plumbing leak:
– Dampness appears only after using cold water.
– No mineral deposits, rust, or corrosion on pipes or fittings.
– Relative humidity under the sink is consistently high (over 60%), even when plumbing isn’t in use.
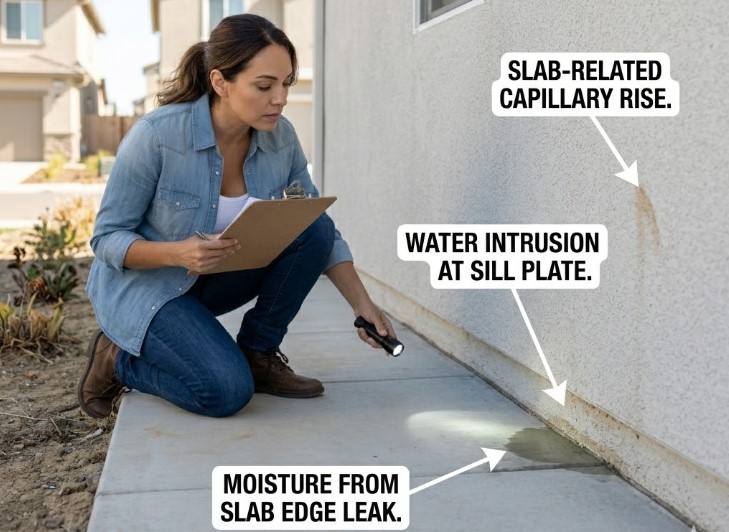
If your home is coastal, consider that marine layer humidity and condensation on pipes are more common. For inland homes, expansion and contraction due to temperature swings may make actual plumbing leaks more likely. In both cases, understanding the difference can help you fix the problem at its source.
3. First 48 Hours: Leak Response Timeline
When you discover an under-sink leak, timing is everything. Mold can begin to grow in as little as 24–48 hours, especially if humidity stays high or materials remain damp. Here’s what to do, step by step:
0 Hours (Immediately):
Shut off the water supply to the affected sink. Remove all items from the cabinet to prevent spreading moisture or cross-contamination. Use microfiber towels or paper towels to soak up any standing water, and open cabinet doors to increase air circulation.
Within 24 Hours (Same Day):
Dry the area thoroughly using a small fan or portable dehumidifier. A fan helps move air, while a dehumidifier lowers humidity—both are key for keeping indoor relative humidity below 60 percent (ideally 30–50 percent, per EPA guidelines). Use a flashlight and moisture meter to check for dampness in hard-to-see corners or behind the cabinet. Take clear photos of the damage and any visible leaks for insurance documentation or to notify your landlord or HOA if you’re a renter or condo owner.
By 48 Hours:
Double-check that all surfaces and materials are dry. Use your moisture meter or hygrometer to confirm that humidity levels under the sink have returned to normal. If you notice musty odors or see visible mold, or if wood or drywall remains damp, do not reassemble the cabinet or replace stored items until fully dry. At this point, if the area is still wet or you see signs of mold, call a professional for assessment.
Tools for the job:
– Microfiber towels or paper towels
– Small fan or dehumidifier
– Flashlight and moisture meter
– Camera or smartphone for documentation
Remember, drying all water-damaged areas within 24–48 hours is the single most important step for mold prevention. For more on moisture control, see Moisture Control in San Diego Homes: The Ultimate Guide.
4. Preventing Recurring Leaks & Mold: Long-Term Solutions
Once you’ve stopped the leak and dried the area, it’s time to prevent future problems. Start with ventilation. Poor airflow under the sink traps humidity and encourages mold, especially in tightly sealed or overstuffed cabinets. Consider drilling small vent holes in the cabinet, installing louvered doors, or simply avoiding overfilling the space.
Next, update old plumbing. Swap out flexible supply lines and shutoff valves for braided stainless steel versions—they’re less prone to bursts and leaks. Periodically check all fittings for looseness, corrosion, and slow drips, especially after any work on your plumbing.
For condos and rentals, know your responsibilities and who to call. Document all leaks and repairs, and notify your landlord or HOA promptly. Keep a record of all communication and photos for your files.
Consider installing a battery-powered leak sensor or moisture alarm under your sink. These inexpensive gadgets send alerts to your phone or sound an alarm when they detect moisture, giving you a head start on leak detection and moisture control.
Ultimately, preventing water is preventing mold. The key to mold control is moisture control—keep humidity below 60 percent, and ideally between 30–50 percent. For deeper mold prevention strategies, see Preventing Mold in Coastal vs Inland Homes.
This week, install a leak sensor under your sink. It’s a quick project and can alert you to leaks before you see any visible damage.
5. When to Call a Pro—and What to Document
DIY repairs are great, but some situations call for professional help—especially in older San Diego homes with original plumbing, or when you notice signs that the problem goes beyond a simple under-sink leak.
Red flags include recurring leaks, visible black or green mold patches, swollen or crumbling cabinet material, persistent mildew smell, water marks on adjacent walls or floors, and leaks that come back after tightening fittings. If you see any of these, it’s time to call a plumber or water damage specialist. For condos and rentals, check with your HOA or landlord about preferred vendors and reporting protocols.
When preparing for a professional assessment, documentation is key. Take detailed photos of all damage, note dates and times, and keep a log of who you notified and when. This will streamline insurance claims and help with post-remediation verification if needed.
Top 5 red flags—call a pro if you see:
– Black or green mold patches
– Swollen or crumbling cabinets
– Persistent mildew smell
– Water marks on walls or floors outside the cabinet
– Leaks that return after tightening fittings
If you’re unsure, it’s better to err on the side of caution. For more on when to involve a professional, check Diagnosing Hidden Kitchen Leaks: Supply Lines, Valves, and More and Condo & Apartment Leak Protocols: What San Diego Renters Need to Know.
Ready to take action? Do the 10-minute under-sink leak checklist today. Track relative humidity under your sink for 7 days with a hygrometer, and document any issues—especially if you need to notify your landlord or HOA. Staying proactive is the best way to keep your San Diego home dry, healthy, and mold-free.